
HOW TO USE THE NEW CRICUT MUG PRESS
- Cristina de la Cruz

- Mar 11, 2021
- 3 min read
This is a sponsored conversation written by me on behalf of Cricut. The opinions and text are all mine.
This post may contain affiliate links. If you purchase something through the link, I may receive a small commission at no extra charge to you.
The NEW Cricut Mug Press is finally here! I have been testing out the Mug Press for a little over a month now. The new Mug Press is great for personalizing your very own mug or gift mugs for those memorable days and holidays. This makes making pro-quality mugs easier than ever before.
This Mug Press is completely different than those currently found on the market. It has a sleek and beautiful design - nothing compares to the design of the new Cricut Mug Press. I currently own a super bulky mug press that I purchased a couple of years ago on Amazon. This specific mug press is bulky, not safe, and super hard to maneuver. Personally, I love when products are EASY to use. That's exactly what the Cricut Mug Press entails - CLEAR INSTRUCTIONS for you to use.
My favorite features of the Cricut Mug Press are the following:
Only one button - what does it mean? well the one-touch setting enables you to apply the perfect amount of heat and pressure. There is no need to second guess yourself and estimate how much time you think it will take for the mug to be completely finished. You also do not need to worry about how much pressure you are using. Let the Mug Press do all the work!
Infusible Ink compatible mugs ranging from 11oz to 16oz! The Cricut mugs have smooth, straight walls which allow for a PERFECT transfer.
Dishwasher-safe! Finally, no need to hand wash these mugs. The designs transferred on your mugs will be there FOREVER.
Auto-off feature provides you with peace of mind.
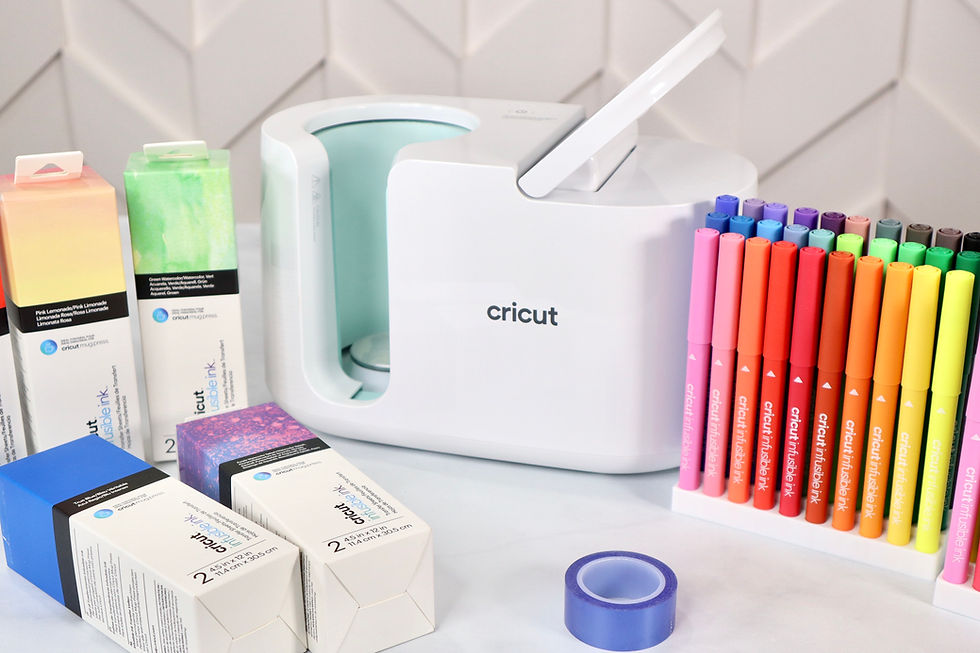
Let's get started with the tutorial! But first, let's go over the materials!
MATERIALS
MUG PRESS TUTORIAL
Step One:
Open Cricut Design Space and search for "Mug Templates."

Click on "Insert Images" to add Mug Template to canvas.

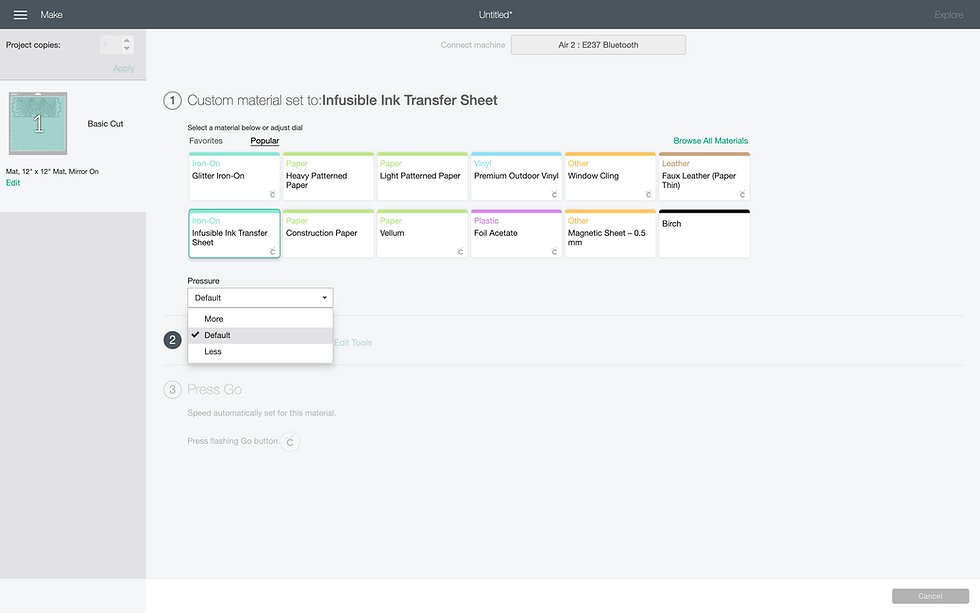
Click on "Make It"

Turn on the "Mirror" feature. You will know it is "on" once it turns green.

Click on "Popular" and find "Infusible Ink Transfer Sheet"

You can adjust the pressure to More if you would like. I set it to "Default"
Step Two:
Place your infusible ink transfer sheet on StandardGrip mat. Insert your mat to your Cricut machine. Once you see the flashing Go button, press it. Cut your infusible ink. Do not forget to mirror.

Step Four:
Roll your Infusible Ink Transfer Sheet very carefully. You do not have to do this but I find it easier to weed out the excess. Remember DO NOT use any weeding tools for removing excess Infusible Ink Transfer Sheet.


Step Five:
Use a lint roller to remove any lint or fuzzies from your mug.

Step Six:
Wrap the Infusible Ink Transfer Sheet around the Mug. Use heat resistant tape, if needed. I like to use it where the sheet overlaps each other.


Step Seven:
Turn on your Cricut Mug Press. Add your mug and press down on the lever.


Once your mug is complete, all of the five white lights will appear. It will also beep giving you the signal that your mug is ready to be removed from the Mug Press. The Mug Press normally takes around six minutes to complete the process.

Step Eight:
Let it cool and be very careful when removing your mug. Leave it on your EasyPress Mat. This helps prevent any damage to your desk.

Step Nine:
Remove excess Infusible Ink Transfer Sheet.

Step Ten:
All done! Now you have a mug that will last you FOREVER. How vibrant are the colors?


Happy Crafting!
XO,
Cristina


Comments