
DIY Cake Topper Using My Cricut Maker
- Aug 20, 2019
- 2 min read
It's August! I cannot believe that it has been over 7 months of 2019! Time flew! I have learned to appreciate time now more than ever. I do wish we had more time in the day, more sunlight that is! Kind of like Alaska!? They have sunlight all day long, for part of the year that is.
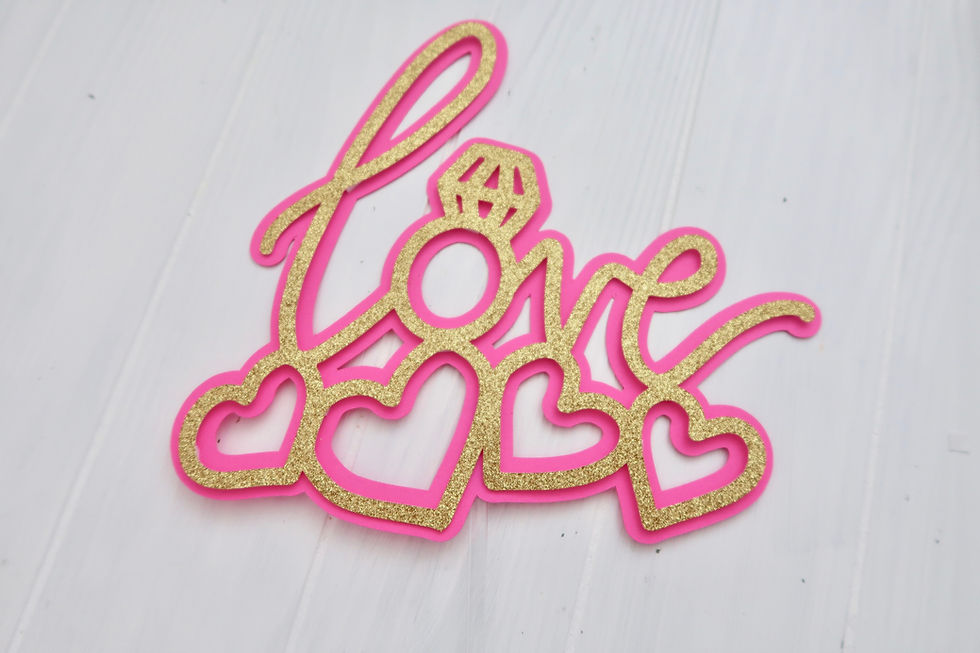
Anyway, let's get started with this DIY tutorial. On this blog post, I want to show you how to create a cake topper using your Cricut Maker. I have made my own cake topper using my Cricut Maker and I absolutely LOVE the way it turned out.

MATERIALS:
Let's quickly go over the things that you will need!
1. Magenta Cardstock 80lb
2. Glitter Cardstock 100lb
3. Scissors
5. Hot Glue Gun
6. Clear Stick
7. LOVE design

You will need to upload the design into Cricut design space so your Cricut Maker can cut the images. I am using two different cardstocks, one is regular 80lb cardstock from Joann's. The other one is glitter cardstock, also from Joann's. You can do different color variations for your cake topper, based on your preference. I strongly recommend using thick cardstock so your cake topper is sturdy and not wobbly.


Next, you will need the adhesive foam squares. You will add these to the back of the glitter cardstock. I found these at Michael's and they are perfect for adding extra depth to your cake topper design. The foam adhesive comes in squares but for this project, I cut the square in half to conceal the foam behind the design. One thing to note is that for extra adhesive ability, I added hot glue to the foam squares. The foam squares were added throughout the design as seen in picture. You can definitely add more - but don't go overboard.


Next, you will adhere the glitter cardstock to the pink cardstock.
Now, this clear stick I used comes with a circle on one of the ends. I used my scissors to cut off the circle part so it could adhere better to the pink cardstock.

Next, you will reverse your cake topper so you can add hot glue to the backside of the decal before adhering the clear stick to the cardstock.

Adhere the clear stick to the hot glue on the back of the design.

Your cake topper is done! I love how the adhesive foam squares add that extra depth to the design! I cannot wait to see your cake toppers using this tutorial! Don't forget to share your finished product with me and tag Modern Flower Creation! I would love to see them.

Happy Crafting!
xo
Cristina


How do you do word shadowing with your iPad